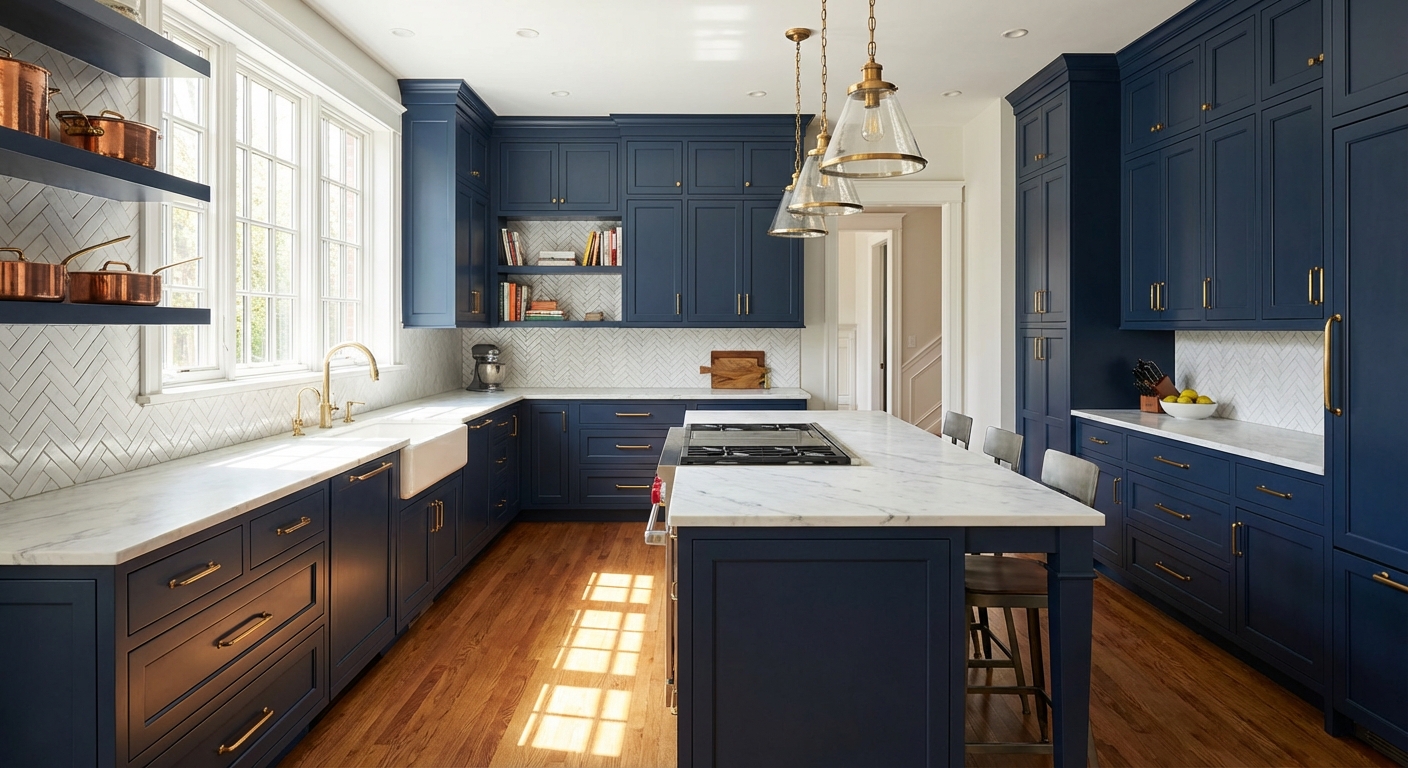
Painting kitchen cabinets is one of the most popular DIY projects for Chicago homeowners looking to update their kitchens without full replacement. Done right, painted cabinets can look professional and last for years. Done wrong, the results peel, chip, and look worse than before. This guide covers the complete process from start to finish, including the mistakes that ruin most DIY cabinet painting projects.
Is Painting Cabinets Right for Your Kitchen
Before starting, honestly assess whether painting makes sense:
Good candidates for painting:
- Solid wood or plywood cabinet boxes in good condition
- Cabinets with simple door profiles (flat panel, basic shaker)
- Kitchens where layout works but appearance is dated
- Budgets under $3,000 for a complete kitchen refresh
- Homeowners with time, patience, and workspace
Poor candidates for painting:
- Particle board or thermofoil cabinets
- Cabinets with water damage, warping, or structural issues
- Highly detailed raised panel doors
- Kitchens needing layout or storage changes
- Homeowners wanting a quick weekend project
Painting cabinets properly takes 3-5 days of active work spread over 1-2 weeks for drying time. Rushing the process guarantees poor results.
Tools and Materials Needed
Gather everything before starting:
Prep supplies:
- TSP or degreaser
- 120 and 220 grit sandpaper
- Orbital sander (optional but helpful)
- Tack cloths
- Wood filler
- Painter's tape
- Drop cloths
- Screwdriver for hardware removal
Painting supplies:
- High-quality primer (shellac-based or bonding primer)
- Cabinet-grade paint (Benjamin Moore Advance, Sherwin-Williams Emerald Urethane)
- High-quality brushes (Purdy or Wooster)
- Foam rollers (4-inch)
- Paint trays
- Paint sprayer (optional for professional results)
The paint quality matters enormously. Cheap paint saves $50 upfront but fails within 2-3 years. Premium cabinet paints cost $50-70 per gallon but provide durable, washable finishes.
Removing Doors and Hardware
Proper organization prevents reassembly headaches:
- Number each door and drawer on the back with painter's tape
- Create a diagram showing door positions
- Remove all hardware (hinges, pulls, knobs)
- Place hardware in labeled bags matching door numbers
- Remove doors from boxes, keeping boxes in place
Taking photos before removal helps during reinstallation. Many Chicago cabinets have been painted or adjusted over decades, so doors may not be interchangeable.
Cleaning and Degreasing
Kitchen cabinets accumulate years of grease, especially near the stove. Paint will not adhere to greasy surfaces.
Cleaning process:
- Mix TSP according to package directions (or use degreaser)
- Wipe down all surfaces with solution
- Pay extra attention to areas near stove and above dishwasher
- Rinse with clean water
- Allow to dry completely (24 hours minimum)
Chicago kitchens with gas stoves accumulate more residue than electric. Extra cleaning passes may be necessary.
.png)
Sanding and Prep Work
Sanding creates the mechanical bond that makes paint stick:
- Sand all surfaces with 120 grit to remove gloss and create tooth
- Switch to 220 grit for smooth finish
- Sand in direction of wood grain
- Use sanding sponge for detailed areas and profiles
- Wipe with tack cloth after sanding to remove all dust
Fill any holes, dents, or imperfections with wood filler. Sand smooth when dry. This step separates amateur jobs from professional-looking results.
Need expert advice? Call (224) 808-5100 for free consultation and measurement.
Priming for Success
Primer is the most important step. Skipping primer or using wrong primer causes most cabinet painting failures.
Best primers for kitchen cabinets:
- Shellac-based (Zinsser BIN): Best adhesion, blocks stains and odors, dries fast
- Bonding primer (Stix, Kilz Adhesion): Good for slick surfaces, lower odor than shellac
Apply thin, even coats. Two thin coats of primer outperform one thick coat. Sand lightly with 220 grit between coats and after final primer coat.
Primer should dry 24 hours before painting, regardless of label claims about recoat time.
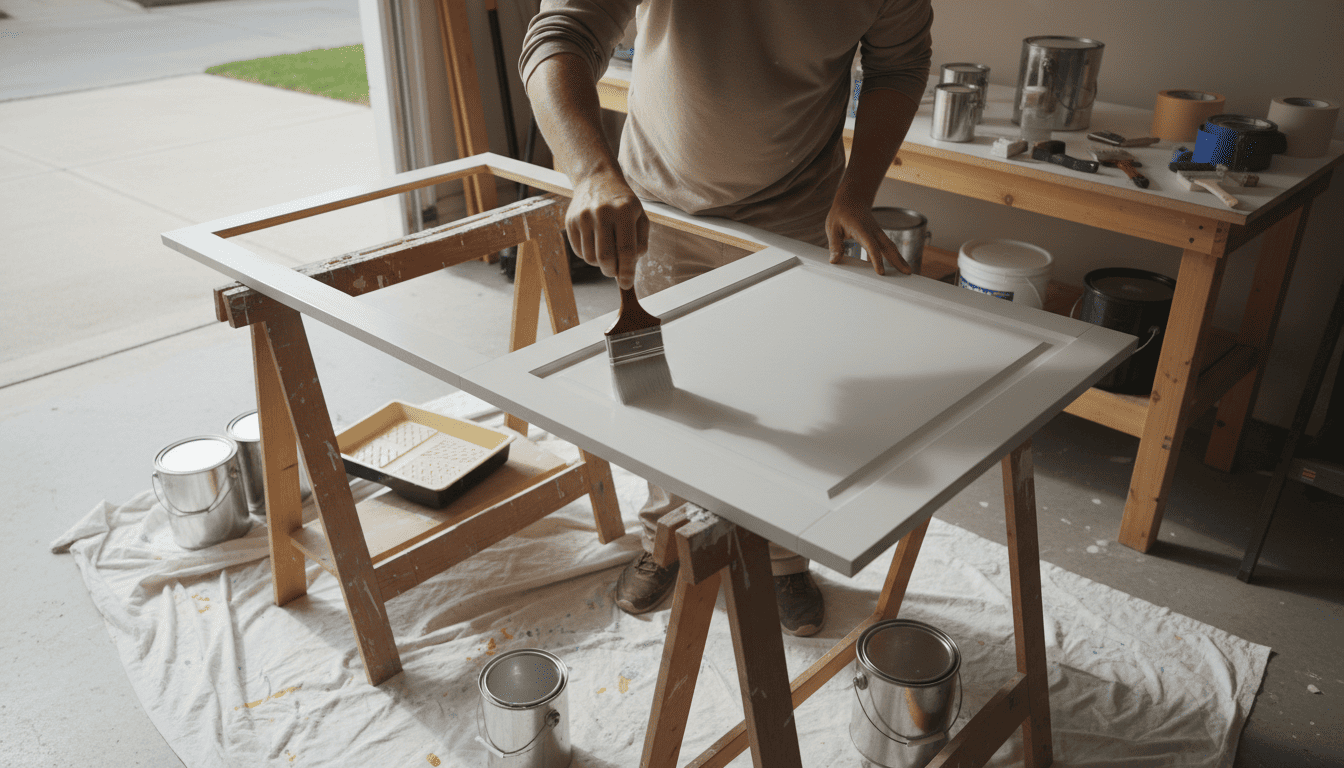
Painting Technique
Application method determines final appearance:
Brush and Roller Method
- Use foam roller for flat areas (creates slight texture)
- Use quality brush for edges and details
- Apply thin coats, avoiding drips and runs
- Work in one direction, maintaining wet edge
- Allow proper dry time between coats (follow paint directions)
Spray Method
- Provides smoothest professional finish
- Requires more setup (spray booth, ventilation)
- HVLP sprayer recommended for DIY
- Multiple thin coats essential
- Overspray management important
Most professional results require 2-3 coats of paint over properly primed surfaces. Chicago's variable humidity affects dry times—paint in moderate conditions when possible.
Drying and Curing
Paint may feel dry but not be fully cured:
- Dry to touch: 1-2 hours
- Ready for next coat: 4-24 hours (follow paint directions)
- Ready for handling: 3-5 days
- Fully cured: 2-4 weeks
Reinstalling doors before paint fully cures causes sticking, marking, and damage. Patience during curing prevents ruining weeks of work.
In summer humidity, Chicago drying times increase significantly. Air conditioning and dehumidifiers help paint cure properly.
Reinstallation Tips
Take time during reinstallation:
- Verify correct door placement using numbering system
- Adjust hinges as needed for proper alignment
- Install new hardware if desired (great opportunity to update)
- Check that doors close properly without rubbing
- Apply felt bumper pads to prevent doors slamming
Leave doors slightly ajar for first week after installation to prevent sticking while paint finishes curing.
Common Painting Mistakes to Avoid
Learn from others' failures:
Skipping or rushing prep: Paint cannot fix poor preparation.
Using cheap paint: Cabinet-grade paint costs more but lasts.
Painting in garage during wrong season: Temperature and humidity extremes cause failures.
Thick coats: Multiple thin coats always outperform one thick coat.
Reinstalling too soon: Wait until paint fully cures.
Painting over grease: Degreasing is essential, not optional.
Wrong primer: Bonding primer matters for adhesion.
When to Hire a Professional
DIY painting makes sense for some projects but not all:
Consider professional painting when:
- Kitchen has more than 25 doors and drawers
- Cabinet detail is complex
- Time is limited
- Perfect spray finish is desired
- Physical limitations make sanding difficult
Professional cabinet painters charge $2,000-5,000 for typical Chicago kitchens. The investment may be worthwhile compared to DIY time investment and risk of poor results.
When new cabinets make more sense:
- Current cabinets are damaged or low quality
- Layout changes are desired
- Painting cost approaches 30-40% of replacement cost
- Cabinets are particle board or thermofoil
AK Cabinet Craft offers custom cabinets starting at $2,999 for complete kitchens—often comparable to professional painting with much longer lifespan.
Frequently Asked Questions
Q: How long does it take to paint kitchen cabinets?
A: Active work takes 3-5 days for an average kitchen. Including drying and curing time, expect 2-3 weeks from start to full use. Rushing the timeline causes failures.
Q: What is the best paint for kitchen cabinets?
A: Benjamin Moore Advance and Sherwin-Williams Emerald Urethane are top choices. These cabinet-grade paints provide durable, washable finishes that resist chipping. Avoid standard wall paint.
Q: Can I paint over laminate or thermofoil cabinets?
A: Technically possible with special primers, but results are often disappointing. Paint adhesion on these surfaces is poor long-term. Replacement is usually better investment than painting laminate or thermofoil.
Q: How much does it cost to paint kitchen cabinets yourself?
A: DIY cabinet painting costs $200-500 in materials for an average kitchen. This includes primer, paint, sandpaper, and supplies. Add $300-500 if purchasing a sprayer.
Q: How long do painted cabinets last?
A: Professionally painted cabinets with proper prep and quality paint last 8-15 years. DIY jobs with shortcuts may show wear within 2-3 years. Prep quality determines longevity.
Get Started
Painting kitchen cabinets offers a budget-friendly refresh option for Chicago homeowners with time and patience for proper technique. The keys to success are thorough preparation, quality materials, and allowing adequate dry time.
For those wanting professional results without DIY effort, or kitchens where replacement makes more sense than painting, AK Cabinet Craft offers free consultations to explore options.
Schedule Your Free Consultation:
- Call: (224) 808-5100
- Visit: Lincoln Park or Bucktown showroom
- Online: akcabinetcraft.com/contacts