Last spring, a couple in Lincoln Park called me about their 1892 Queen Anne Victorian. They had original kitchen cabinets — solid oak frames with hand-routed panel doors — that previous owners had painted over at least four times. The cabinets were structurally sound but cosmetically wrecked: chipping layers of latex paint, warped drawer fronts, missing molding sections, and hardware from three different decades. They wanted the kitchen to feel authentically Victorian again while actually functioning for a family that cooks every night. This is the story of how we made that happen.
The Initial Assessment: What We Found Behind the Paint
I visited the home and spent about 90 minutes inspecting every cabinet box, door, and drawer. The good news: the face frames were quarter-sawn white oak, still tight at the joints after 130 years. The bad news: someone in the 1970s had replaced six of the twelve original doors with flat-slab plywood panels, and the upper cabinets were missing their original glass muntins entirely. Two drawer boxes had split bottoms from moisture damage near the sink.
Beneath four layers of paint, I found the original stain color — a warm amber tone typical of 1890s Chicago millwork. The clients and I had a decision to make: strip everything back to wood and restore the original finish, or repaint with proper technique to get another century of life. They chose a historically informed cream white paint with the original oak grain visible underneath, a finish called "rubbed" or "antiqued" that nods to the period without pretending nothing changed.
Defining the Scope: Restore, Replace, or Rebuild
Not every cabinet in a Victorian kitchen can or should be saved. I categorized each component into three buckets:
- Restore (60% of the project): Six original oak raised-panel doors, all face frames, crown molding on upper cabinets, and the original plate rack above the sink
- Replace with period-correct replicas (25%): The six plywood doors from the 1970s renovation, missing glass muntin bars, and two split drawer boxes
- Rebuild from scratch (15%): A new pantry cabinet to replace a freestanding metal unit that had no historical connection to the home, plus new interior shelving with modern adjustability
This approach kept the budget realistic. Full custom reproduction of every element would have tripled the cost. Selective restoration — saving what deserves saving, replacing what doesn't — gave the clients an authentic result at roughly $14,200 total.
Stripping and Surface Preparation
Paint stripping on century-old cabinets is slow, careful work. We used infrared paint removers rather than chemical strippers because the pre-1978 layers almost certainly contained lead. Infrared heats the paint just enough to soften it without vaporizing lead particles. Every stripped layer was collected and disposed of per EPA RRP (Renovation, Repair, and Painting) rules. Our crew is RRP-certified, which is non-negotiable for any pre-1978 home work in Chicago.
After stripping, the oak needed significant sanding — 80 grit to remove residue, stepping up to 150 grit for the final surface. We filled small dents and nail holes with tinted wood filler matched to the oak grain. Deep gouges on two doors got dutchman patches: small inlays of matching oak that become nearly invisible after finishing.
Have questions? Call me at (224) 808-5100 or schedule a consultation.
Crafting the Replacement Doors and Muntin Bars
The six replacement doors needed to match the originals exactly. I took one surviving original door to our shop on Halsted Street and measured every dimension: the stile and rail widths (2¼ inches), the raised panel profile (a traditional ogee), and the overall thickness (⅞ inch, which is thicker than modern standard ¾-inch doors). We milled new doors from white oak sourced to match the grain pattern as closely as possible.
The glass muntin bars for the upper cabinets required research. I referenced photos the clients found in a 1903 Chicago Tribune real estate listing for their block. The original pattern was a simple diamond lattice — four panes per door. We milled the muntins from oak, rabbeted them to accept the glass, and installed true divided-light panes rather than snap-in grilles. The difference is obvious: true divided light creates shadow lines and depth that applied grilles never replicate.

Hardware Selection: Getting the Period Right
Victorian kitchen hardware in the 1890s was typically cast iron or stamped brass — bin pulls on drawers, small turn latches on doors, and exposed butterfly hinges. The clients wanted to keep the aesthetic but add soft-close functionality. We installed Blum concealed hinges behind the doors (invisible when closed) and sourced unlacquered brass bin pulls from a specialty supplier that casts from original Victorian-era molds.
Unlacquered brass is important here. Lacquered brass stays shiny and looks modern. Unlacquered brass develops a patina within months that reads as authentically aged — exactly the look a Victorian kitchen demands. I always recommend this for restoration projects. You can explore more of our hardware and customization approach on our custom kitchen cabinets page.
The Finishing Process
We applied a bonding primer formulated for hardwoods, followed by two coats of a high-build cabinet-grade alkyd-hybrid paint in Benjamin Moore's "Mascarpone" (AF-20) — a warm cream with slight yellow undertones that references historical Victorian kitchen palettes. Between coats, we sanded with 220-grit to ensure adhesion and smoothness.
The "antiqued" effect the clients wanted came from a final step: lightly sanding through the top coat at edges and high-contact areas to expose the primer and a whisper of oak grain beneath. This simulates natural wear and avoids the "just painted" look that kills the character of old millwork. We sealed everything with a waterborne topcoat for durability.
The New Pantry Cabinet: Blending Old and New
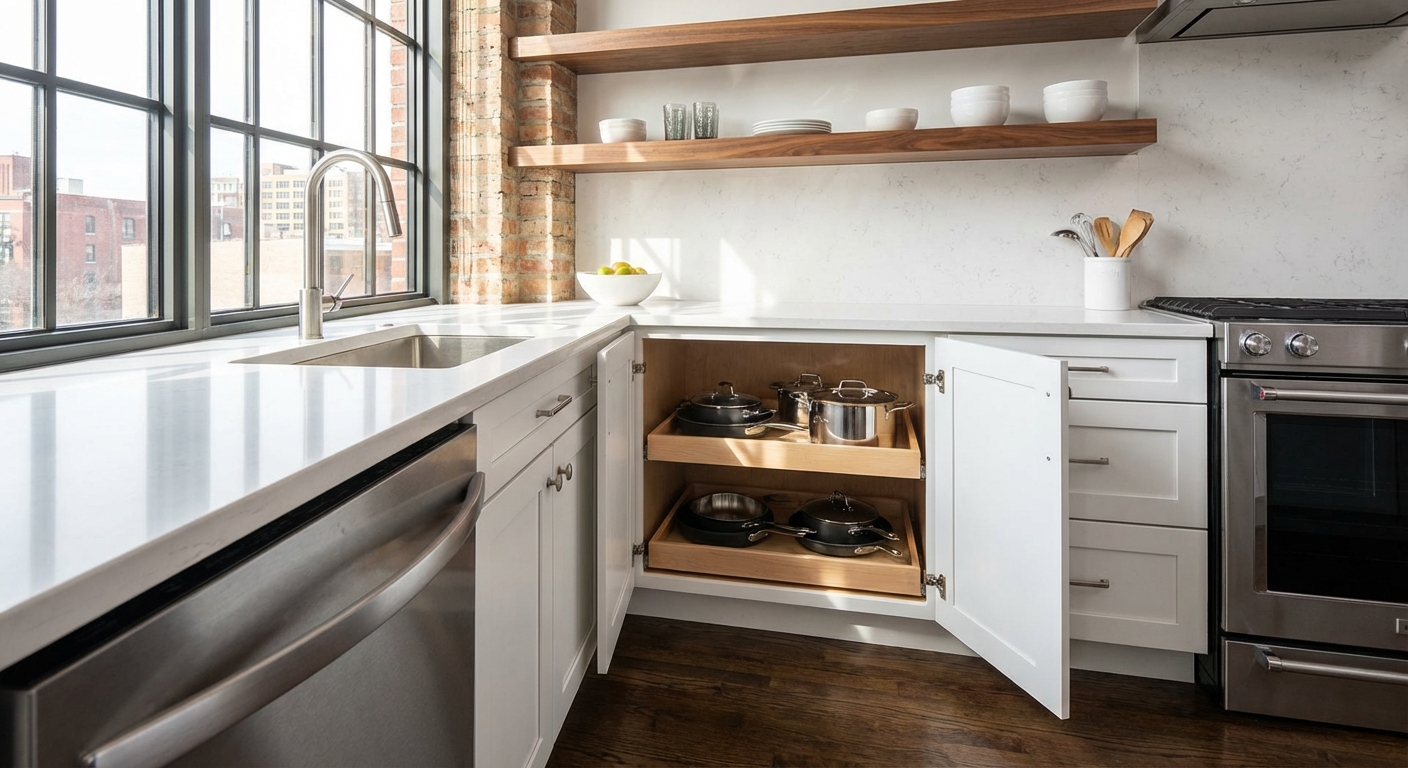
The original kitchen had a built-in pantry that was ripped out decades ago and replaced with a metal utility shelf. We built a floor-to-ceiling pantry cabinet using the same white oak, matching the face frame construction and raised-panel style of the original cabinets. Inside, we used modern plywood boxes with Blum Tandembox soft-close drawers — pull-out trays that give the clients 40% more usable storage than fixed shelves.
From the outside, the pantry looks like it has been there since 1892. From the inside, it works like a 2026 kitchen. That balance is what Victorian home restoration should achieve. See similar projects in our portfolio gallery.
Timeline and Budget Breakdown
The entire project took 26 days from first on-site strip to final hardware installation. Here is how the $14,200 budget broke down:
- Paint stripping and lead-safe prep: $2,800
- Six replica raised-panel oak doors: $3,600
- Muntin bars and true divided-light glass: $1,400
- New pantry cabinet (floor-to-ceiling): $3,200
- Hardware (Blum hinges + brass bin pulls): $1,100
- Finishing (primer, paint, antiquing, topcoat): $2,100
For a Lincoln Park Victorian, this came in well under a full kitchen remodel (which averages $45,000–$80,000 in the neighborhood). The clients kept their countertops, sink, and layout — the cabinets were the only scope of work.
The Result: Before and After
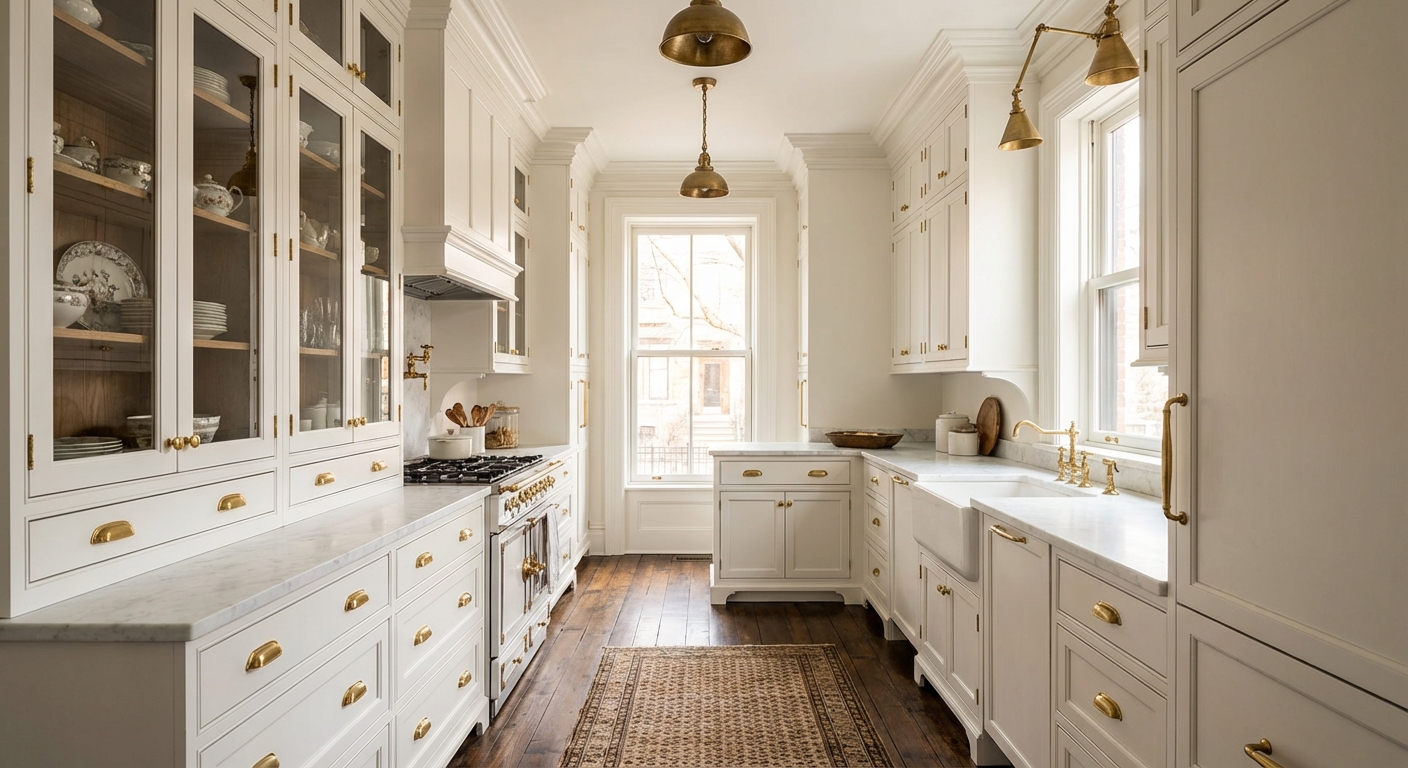
Before the project, the kitchen felt like a patchwork of bad decisions from different decades. Mismatched doors, peeling paint, hardware that belonged in a 1990s spec house. After restoration, it reads as a single coherent space — warm cream cabinets with authentic raised panels, diamond-lattice glass uppers, aged brass hardware, and a pantry that looks original but works like it was built yesterday.
The clients told me their home inspector — who came back for a separate appraisal — asked whether the cabinets were original. That is the best compliment a restoration can receive.
Frequently Asked Questions
How do I know if my Victorian cabinets are worth restoring instead of replacing?
Check the face frames and box construction. If you have solid hardwood frames with mortise-and-tenon or dowel joints that are still tight, restoration almost always makes sense. If the boxes are particleboard or the frames are splitting at the joints, replacement is more cost-effective. I offer free on-site assessments to help you decide.
Is lead paint always present in pre-1978 homes?
In my experience working on Chicago homes built before 1950, lead paint is present roughly 90% of the time. I always assume it is there and follow EPA RRP protocols. Testing kits from hardware stores can give you a quick answer, but certified abatement is required for any professional work.
Can I add soft-close hinges to original Victorian cabinet doors?
Yes. Concealed Blum hinges mount inside the cabinet box and behind the door, so they are completely invisible when the door is closed. The exterior keeps its period look. I have done this on dozens of restoration projects without any compromise to historical appearance.
How long does a Victorian kitchen cabinet restoration typically take?
Most projects run 3–5 weeks depending on the number of doors, extent of damage, and whether new components need to be milled. Lead-safe stripping is the most time-consuming phase. I always provide a detailed timeline during the estimate visit.
What does a project like this cost compared to full cabinet replacement?
Restoration typically runs 30–50% of what full custom replacement would cost for the same footprint and quality level. This Lincoln Park project came in at $14,200. A comparable set of all-new custom oak cabinets with the same period detailing would have been $30,000 or more.
Ready to Get Started?
If you own a Victorian, Craftsman, or other historic Chicago home and want your kitchen cabinets to honor the original architecture, I would be glad to take a look. I have personally overseen 1,300+ cabinet projects across the city, and historic restorations are some of the most rewarding work my team does. Contact us today or call (224) 808-5100 to schedule a free in-home assessment.